
You can paint vinyl flooring in three steps: prep, prime, and paint. The catch is that your results depend almost entirely on how well you handle the first step.
Start by cleaning the floor thoroughly with a degreaser to remove dirt and grime. Next, degloss the surface using a product like Klean-Strip ($8–12 per quart), which dulls the shine so primer and paint can actually stick. Then sand with 120–150 grit sandpaper. This roughing-up process might seem tedious, but it’s what separates a paint job that lasts from one that peels off in sheets within a few months.
Apply two coats of primer, letting each one dry completely between applications. Once that’s done, finish with a quality water-borne acrylic urethane paint in the color you want. This type of paint holds up better on floors than standard latex options and costs around $30–50 per gallon depending on the brand.
The real lesson here is simple: skip the prep work, and you’re basically asking for disappointment. Get these fundamentals right, and your painted vinyl floor will actually stay put.
Yes, But Prep Work Is Non-Negotiable

Why’s prep work so important when painting vinyl flooring? Because shortcuts here mean splotchy, peeling paint later. You’re basically setting up your entire project for success or failure.
Start with thorough cleaning to remove dirt and wax buildup that prevents even paint adhesion. Next comes deglossing—use a liquid deglosser like Klean-Strip (around $8-12 per quart) with proper ventilation, eye protection, and gloves to dull the vinyl’s slick surface. Then sand with medium-grit sandpaper (120 to 150 grit works well) for better paint grip. This combination of cleaning, deglossing, and sanding is what actually lets paint stick instead of just sitting on top like water on wax.
Don’t skip protection either. Tape baseboards with painter’s tape and mask walls to prevent messy overspray. Fill any holes or cracks with wood filler and sand smooth.
Here’s what really matters: allow primer, repairs, and everything to dry completely in a moisture-free environment before painting. I’ve seen people rush this step and end up with paint that bubbles or peels within weeks. Your vinyl floor prep determines whether you’re left with results that look intentional or frustrating rework.
The Three-Step Process: Prep, Prime, Paint

Now that you’ve prepped your floor properly, it’s time to actually get paint to stick—and that’s where primer comes in. You’ll follow three steps to paint your vinyl floor the right way.
| Step | Task | Tool | Time |
|---|---|---|---|
| 1 | Prep surface thoroughly | Cleaner & cloth | 2 hours |
| 2 | Prime with two coats | Brush & roller | 4-6 hours |
| 3 | Paint final coat | Brush & roller | 2-3 hours |
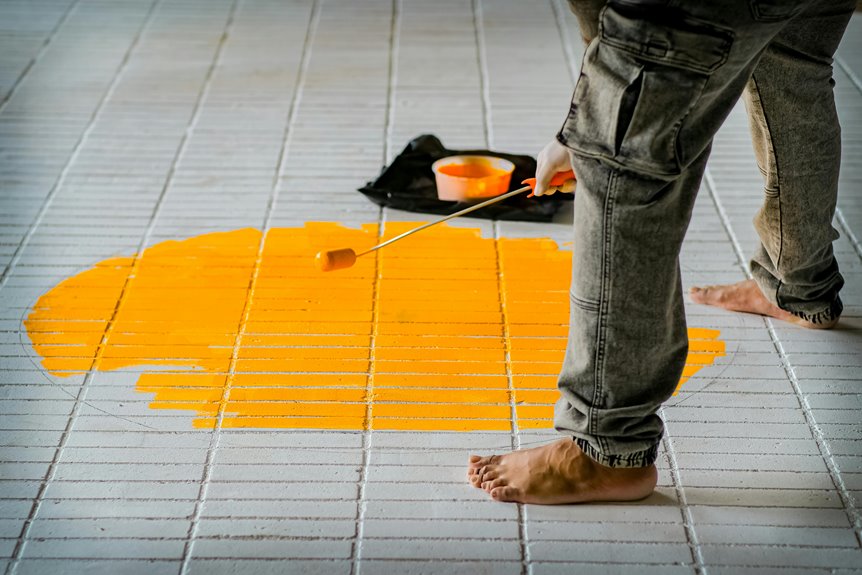
Start by protecting baseboards with blue painter’s tape—it costs about $5 to $8 per roll and saves you from paint drips. Apply primer with a small brush near the edges where a roller won’t reach, then switch to a roller for the open areas. This two-coat approach takes patience. Let each coat dry completely before moving forward. Rushing this step is how people end up redoing their work.
After the primer cures, sand lightly with 120-grit sandpaper (around $3 to $6 per sheet) and wipe away all the dust with a damp cloth. The paint sticks better to a slightly roughed-up surface. Your vinyl floor’s success really depends on respecting drying times and not skipping the primer step. Vinyl doesn’t hold paint well without it, which is why this process takes longer than painting drywall.
Best Paints and Topcoats for Durable, Long-Lasting Results

Once you’ve primed your vinyl floor, picking the right paint matters more than you’d think. Water-borne acrylic urethane paints like Benjamin Moore Command and PPG Break-Through work best because they stick well to vinyl and stay flexible as the floor shifts beneath your feet. These paints dry hard enough to handle daily foot traffic and furniture moving without cracking or peeling.
For spaces that get heavy use or deal with moisture—like kitchens or bathrooms—exterior marine-grade enamel gives you extra water resistance. If you’re working with budget vinyl that has paper backing, regular latex paint works on the underside without spending much money.
The real goal is finding a finish that bends slightly with your floor while staying tough enough for wear and tear. A good vinyl floor paint bonds properly and handles the beating your floors take without falling apart. When you choose carefully, your painted vinyl floors will hold up well for years without constant maintenance.